
In the vast realm of website development, WordPress stands out as a versatile and user-friendly platform. When coupled with the power of Elementor, a robust page builder, creating a visually appealing and functional website becomes an enjoyable task. In this step-by-step guide, we will walk you through the process of building a WordPress website from start to finish using the Elementor page builder.
Step 1: Set Up Your WordPress Environment
- Choose a Domain and Hosting: Select a domain name that reflects your brand or purpose and choose a reliable hosting provider. Popular choices include Bluehost, SiteGround, and WP Engine.
- Install WordPress: Most hosting providers offer a one-click WordPress installation. Follow the on-screen instructions to set up your WordPress site.
Step 2: Install and Activate Elementor
- Log in to Your WordPress Dashboard: Access your WordPress dashboard by entering your domain followed by “/wp-admin.”
- Navigate to Plugins: Click on “Plugins” in the left sidebar, then select “Add New.”
- Search for Elementor: Type “Elementor” in the search bar. Once found, click “Install Now” and then “Activate.”
Step 3: Choose and Install a Theme
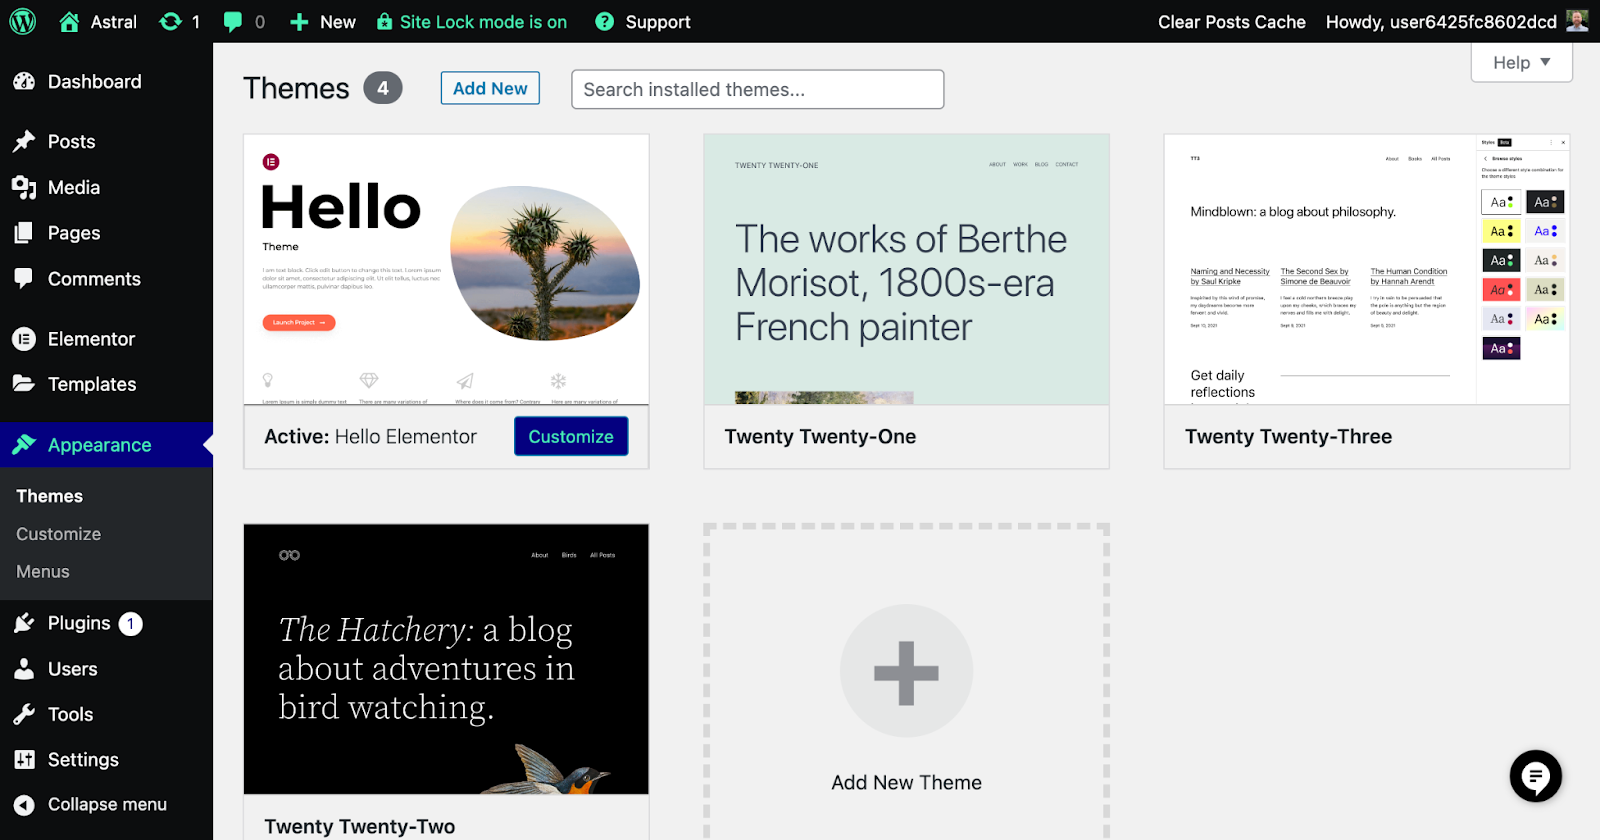
- Navigate to Appearance: In the WordPress dashboard, go to “Appearance” and select “Themes.”
- Add a New Theme: Click on “Add New” and explore the vast collection of free and premium themes available. Install and activate a theme that suits your website’s purpose.
Step 4: Create Essential Pages
- Go to Pages: In the WordPress dashboard, navigate to “Pages” and click on “Add New.”
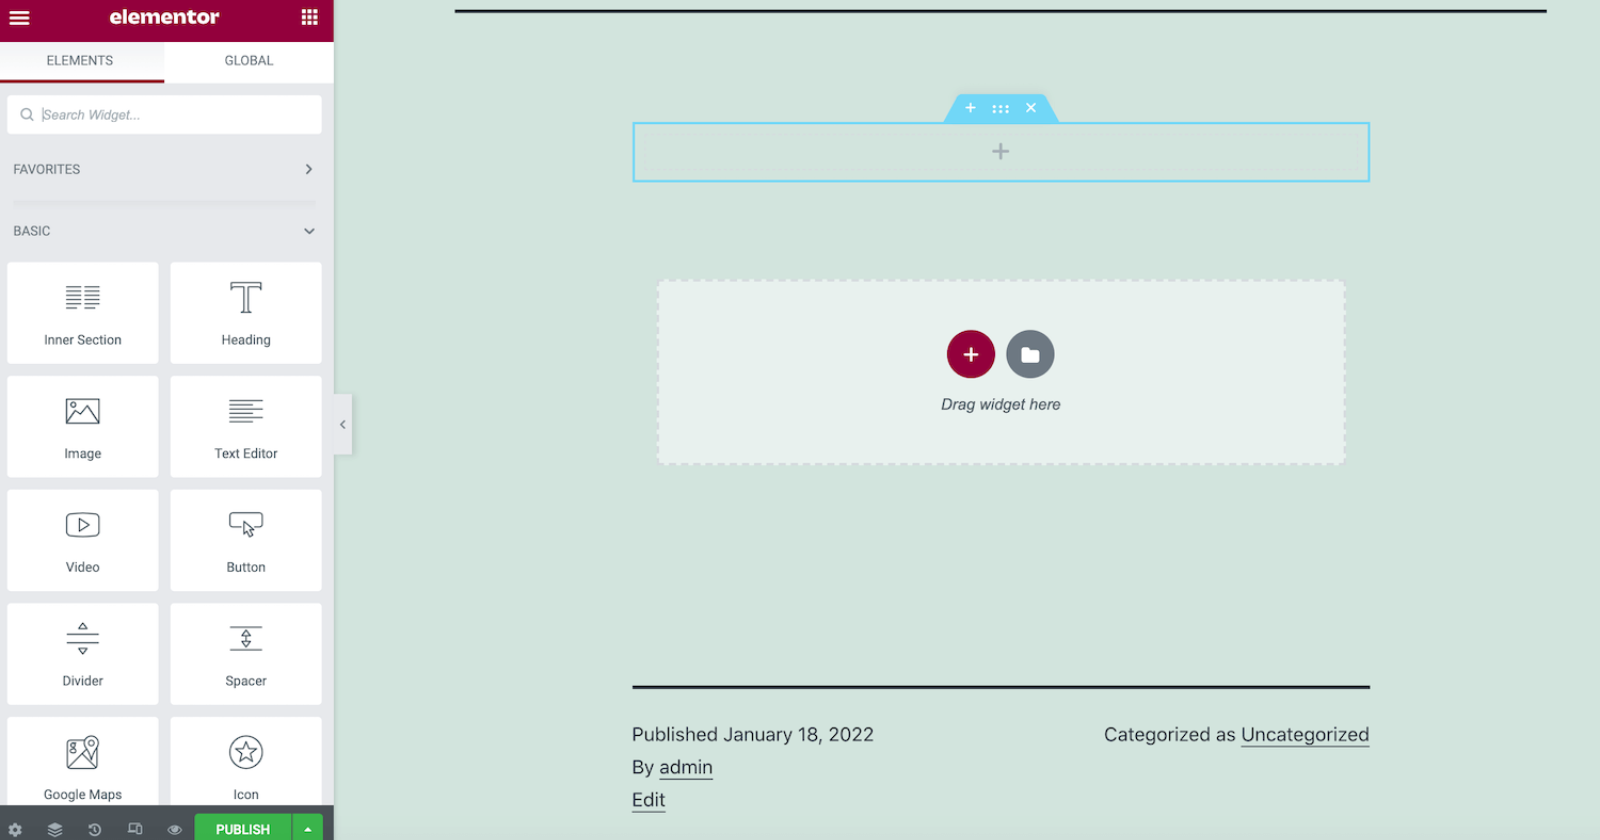
- Design with Elementor: Use the Elementor editor to craft visually stunning pages. Drag and drop elements, customize text, and add images to create a unique layout.
- Create Key Pages: Essential pages include Home, About Us, Services, Contact, and any specific pages based on your website’s purpose.
Step 5: Configure Elementor Settings
- Access Elementor Settings: In the WordPress dashboard, go to “Elementor” and select “Settings.”
- Configure Global Settings: Set your preferred style, typography, and color scheme. Configure other settings to ensure consistency across your website.
Step 6: Customize Header and Footer
- Use the Theme Customizer: Navigate to “Appearance” and select “Customize.” Customize your header and footer according to your preferences.
Step 7: Optimize for SEO
- Install an SEO Plugin: Consider using a plugin like Yoast SEO to optimize your website for search engines.
- Add Meta Titles and Descriptions: Craft compelling meta titles and descriptions for each page to improve search engine visibility.
Step 8: Ensure Mobile Responsiveness
- Check Responsiveness: Preview your website on various devices to ensure it looks appealing and functions seamlessly on desktops, tablets, and mobile phones.
Step 9: Test and Launch
- Test Website Functionality: Thoroughly test your website to ensure all elements, links, and forms function correctly.
- Launch Your Website: Once satisfied with the design and functionality, launch your website for the world to see.
Congratulations! You’ve successfully built a WordPress website using the Elementor page builder. With its intuitive drag-and-drop interface and customization options, Elementor empowers you to create a website that not only looks fantastic but also meets the needs of your audience. Now, as you embark on your online journey, continue to explore Elementor’s features and stay updated with the latest trends to keep your website dynamic and engaging. Happy building!https://sivuyileparkies.co.za/wp-content/uploads/2024/02/1-1.png